Modern Farmhouse Style in Interiors and Architecture
A gabled roof, wood and a large table by the window: a familiar picture of modern farmhouse style. We look at what makes the home behind…
Read MoreThe repaired joints still look new, but the old bricks are crumbling. Why does this happen, how do you choose a compatible mortar, and what should you check before work begins?
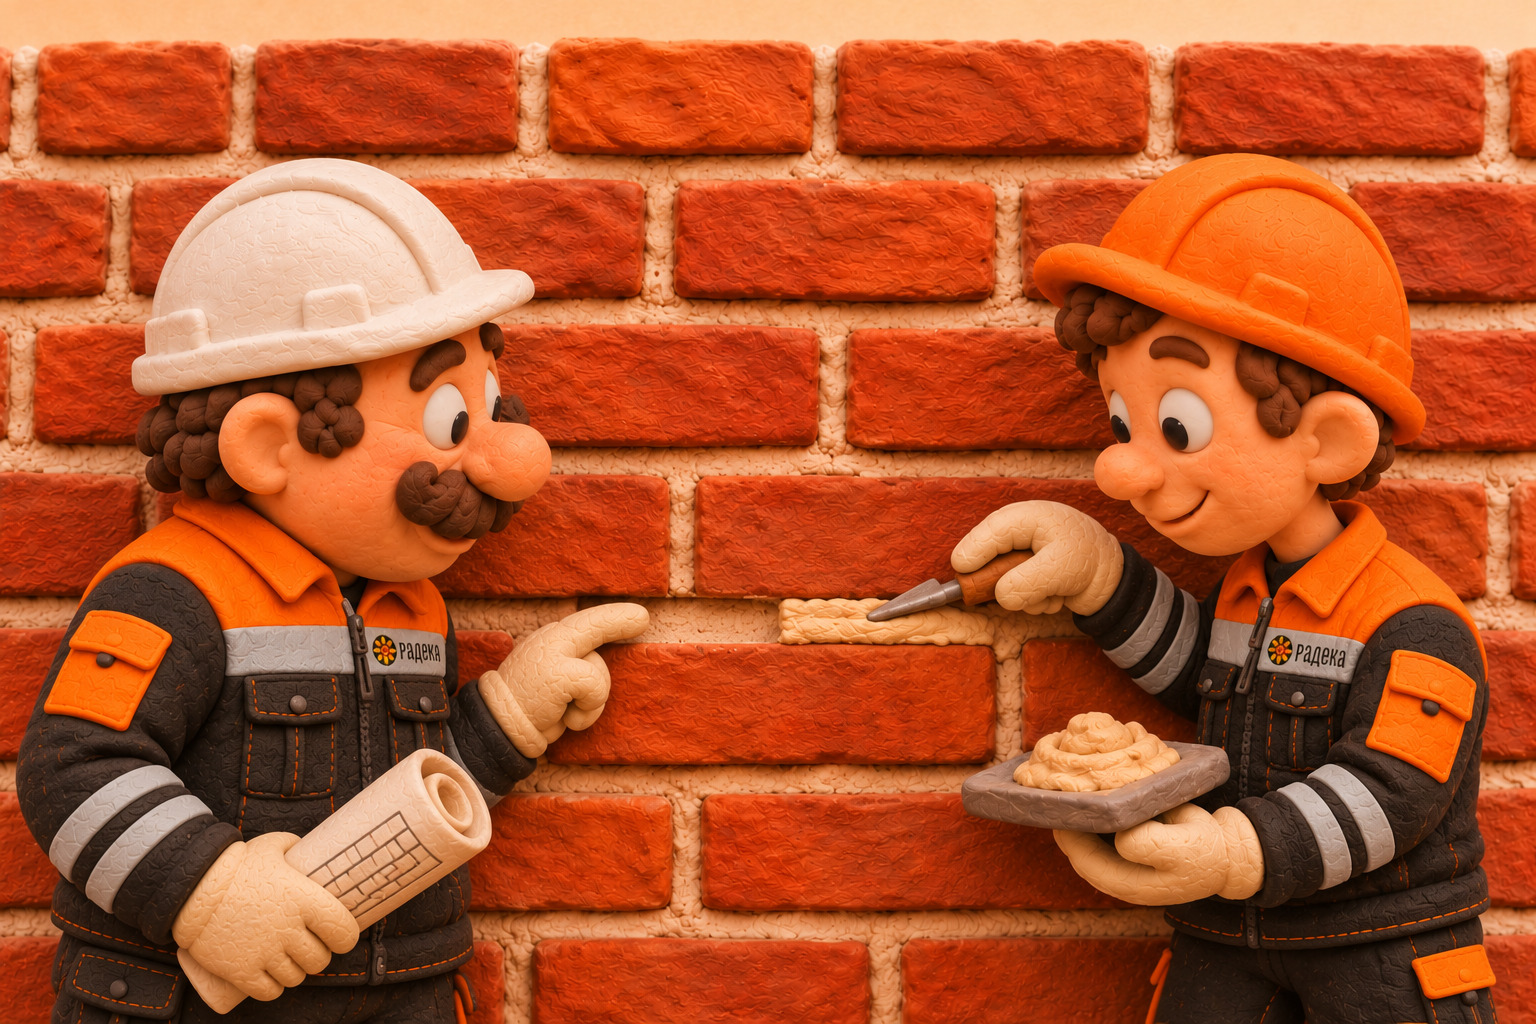
After repairs, the facade looks tidy: even joints, clean brick edges and no obvious gaps. A few winters later, an unpleasant pattern emerges. The new mortar is holding firm, while the edges of the old bricks have started to crumble. The repair is outlasting the wall it was meant to protect.
When we repair old masonry, we want the work to last. Reaching for a stronger mortar seems perfectly reasonable. But brick, stone and mortar work together, and the properties of the new pointing need to suit the materials already in the wall. This matters especially in old masonry built with lime mortar. Let’s look at why it is so easy to go too far, and how to recognise a sensible approach before work starts.
A mortar joint may look like an inconspicuous strip between bricks, but it has plenty to do. Mortar fills irregularities, helps transfer loads and, at the face of the wall, protects the masonry from rain. Permeable joints can also allow moisture that has already entered the wall to escape.
Repointing brickwork means removing deteriorated mortar from the outer part of the joints and filling the prepared recesses with new mortar. It is different from simply shaping the surface of a fresh joint. A specification for facade repairs should therefore make the scope clear: restoring deteriorated joints, including preparing the sound material beneath. Running a tool neatly over the surface is not enough.
The age of a wall is not, on its own, a reason to rake out every joint. Where the mortar is sound, the joint is filled and it still does its job, it can be left in place. Even the relative softness of lime mortar does not necessarily mean it has failed. SPAB’s advice on repointing specifically warns against unnecessary replacement, which can damage brick edges and destroy surviving historic finishes.
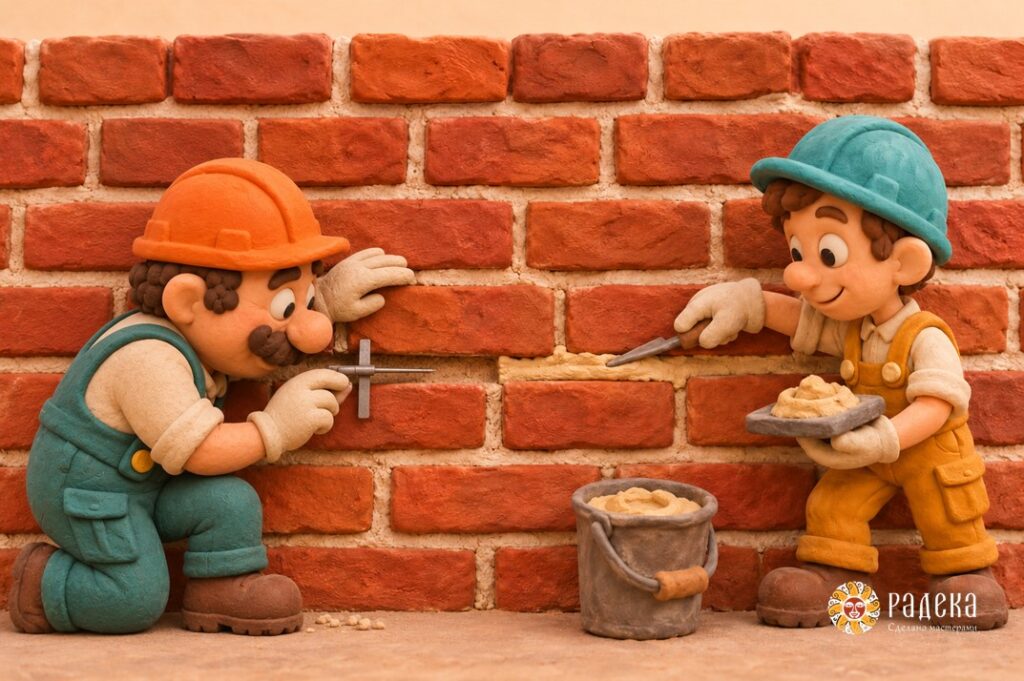
Imagine a soft old brick surrounded by a stiff repair mortar. The wall expands and contracts slightly as temperature and moisture levels change. If the joint is too stiff for the adjacent material, the resulting stresses can damage the brick or its edges. The mortar stays intact while the masonry around it crumbles.
Moisture creates a second problem. If the new mortar restricts drying through the joints, more moisture may have to escape through the bricks. Dissolved salts travel with that water. When they crystallise within the pores, they can damage the material; freezing water in saturated masonry adds to the damage. A white deposit on the surface and deterioration inside the brick are different phenomena, even if they share a source of moisture.
For traditional lime-built masonry, the pointing mortar is generally chosen to be weaker and more permeable to water vapour than the brick or stone. Surviving historic mortar is another reference: the new mix should not be stronger or less permeable to water vapour. Stiffness and shrinkage are assessed separately. When historic monuments are restored, the mortar’s composition and properties are selected on the basis of investigations of the masonry, as required by the Russian standard for the restoration of brick masonry. The joint must withstand the weather and allow future repairs without unnecessary loss of brick. A deliberately weak mix that rain quickly washes away will not do that either.
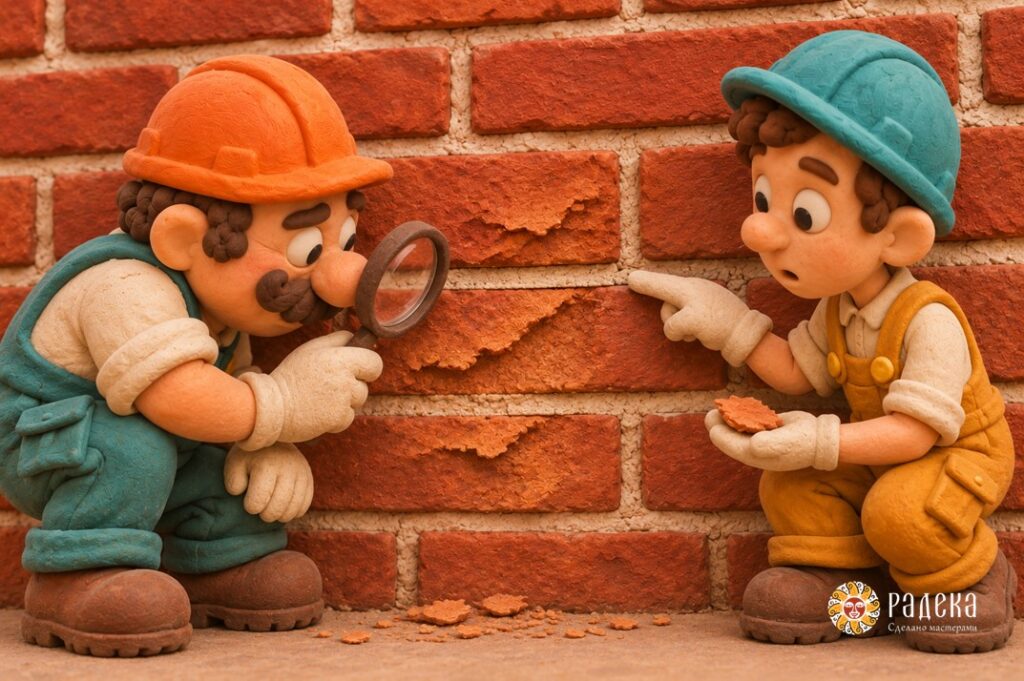
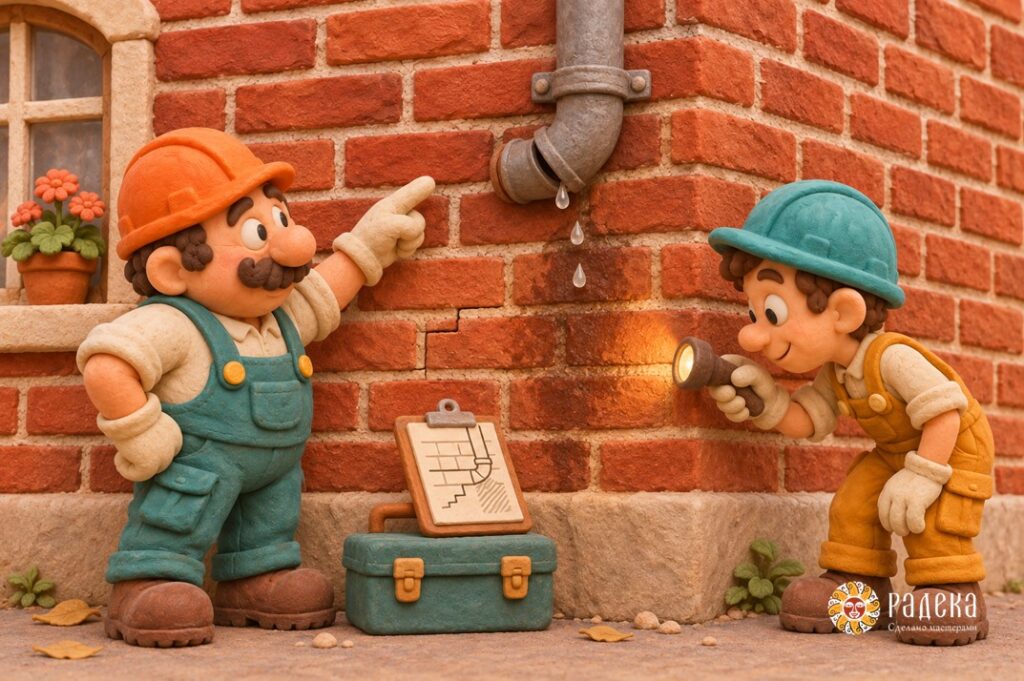
Brickwork restoration starts with an inspection of the whole wall. Where is the mortar crumbling: beneath a leaking gutter, near ground level, around a window or beside an old repair? Is the damage confined to the outer mortar, or has the brick face also been lost? If water keeps running over the same spot, the new pointing will face the conditions that destroyed the old.
A crack needs separate attention. It may be caused by settlement, thermal movement, the behaviour of a lintel or other factors. A photograph cannot tell you whether movement in the wall has stopped. If it is continuing, filling the joint will only conceal the evidence for a while. When construction drawings and specifications are prepared, repointing and any necessary structural repairs are treated as separate tasks. Repointing alone cannot resolve the latter.
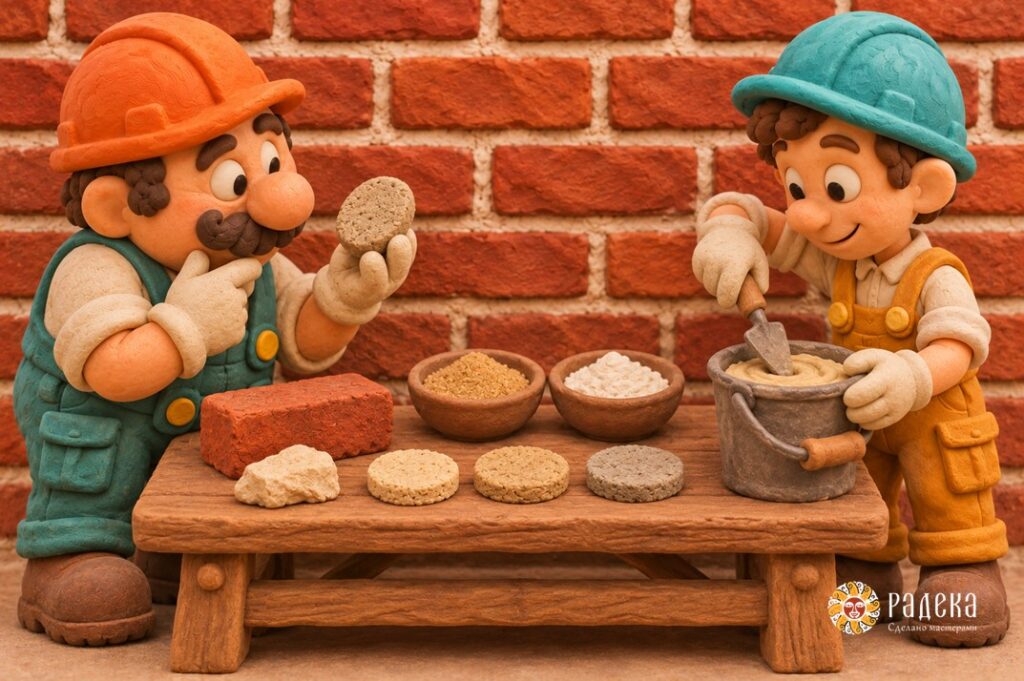
Choosing a mix involves examining surviving mortar, including material in areas sheltered from the weather. It is important not to mistake a later cement patch for the original mortar. Where necessary, the binder, aggregate and salts are analysed, along with the condition of the brick or stone. An article from the National Center for Preservation Technology and Training explains why sampling should be guided by a specific question. A crumb picked up from the ground tells you little about how the whole wall was built.
Moisture content matters too. Its effect on brick strength is demonstrated in a study from Saint Petersburg Polytechnic University. The practical lesson is straightforward: results obtained from a dry specimen cannot simply be applied to a wet wall without further assessment. There is no single percentage adjustment that works for all old masonry.
Lime mortar is often a suitable choice for old masonry, especially where lime was used originally. But the word “lime” does not tell you everything about a mix. Non-hydraulic lime hardens by reacting with carbon dioxide in the air; hydraulic lime also hardens through reactions with water. The composition affects strength development and curing requirements.
So “any lime will do for an old house” is not a useful rule. Masonry beneath a wide eaves overhang and an exposed parapet get wet and dry out in different ways. Soft brick and dense stone also place different demands on a mortar. Even limestones that look similar can differ in water absorption and strength. Specifying one mix for an entire building simply to make purchasing easier is a risk.
Nor should every cement-containing mortar be dismissed as a mistake: some masonry was built with cement or blended mortars from the outset. But adding cement “for extra strength” to a specified lime mix changes its properties. The same applies to unapproved plasticisers and adhesive additives.
Compressive strength is only one of the properties to assess in a restoration mortar. Stiffness, shrinkage, bond, moisture transport and behaviour in the presence of salts already in the masonry also matter. If a gap opens between the mortar and the brick as it hardens, an attractive colour is little consolation. And “vapour-permeable” on a bag does not explain how the mix absorbs and releases liquid water. A high or low strength figure alone cannot answer all these questions.
There is another reason not to choose mortar solely from a technical data sheet. After repointing, the house can look unexpectedly different. Joints that are too pale turn a quiet wall into a high-contrast grid. Mortar smeared over the edges makes the joints appear wider and the bricks smaller. Excessively recessed pointing deepens the shadows, while projecting ridges can trap water.
The importance of detail is clear in close-up views of the natural stone facade in Barvikha. Smooth panels sit beside relief ornament, and the joints contribute to the overall pattern. In old masonry, the bricks or stones themselves are often irregular too. Trying to impose an identical strip of mortar across every joint can easily erase the wall’s character.
Agree the colour, aggregate grain size, texture and joint depth on a trial area. Assess it after drying, both close up and from the normal viewing distance. A small mortar sample in the hand helps narrow down the choice, but several courses of masonry give a much clearer idea of the finished effect.
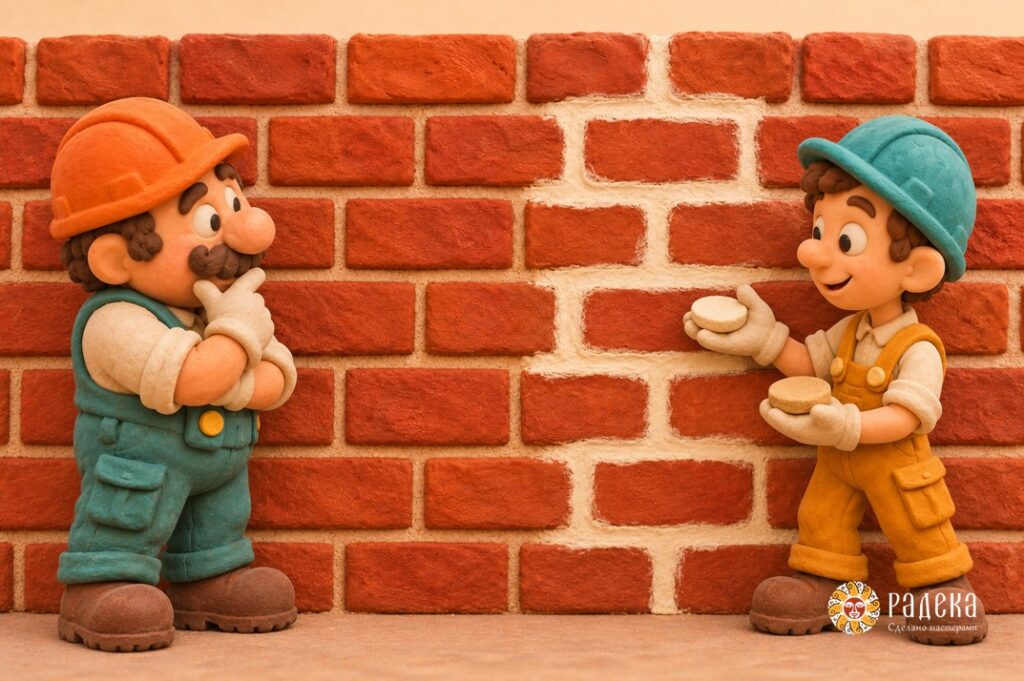
After reading all this, it is tempting to remove the previous repair immediately. Do not rush. Hard mortar can be bonded so firmly that pieces of brick come away with it. An attempt to correct one mistake then creates another, irreversible one.
Start with a small trial: can the unsuitable material be removed without serious loss, where has it already separated from the masonry, and which areas are actually deteriorating? SPAB recommends assessing inappropriate cement pointing through a trial. Local replacement may be justified. If removal would do more harm, a specialist may advise retaining some of the existing pointing and monitoring its condition. The decision must be based on the wall, not just the name of the binder.
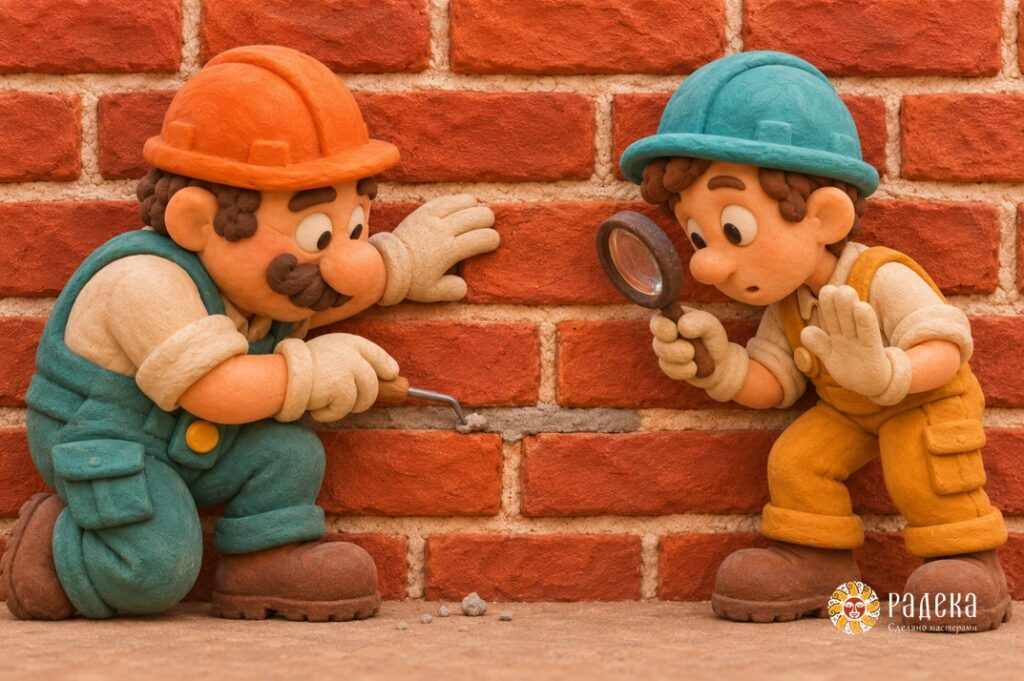
Before the main work begins, address the identified sources of moisture and decide which areas need repair. Then carry out the full process on a small, representative area: remove the damaged mortar, prepare the recesses, fill them with the new mix and finish the surface. This reveals whether the brick edges can be preserved, whether the tools are suitable and whether the required joint profile can be achieved. Retain the approved trial area as a reference for the rest of the work.
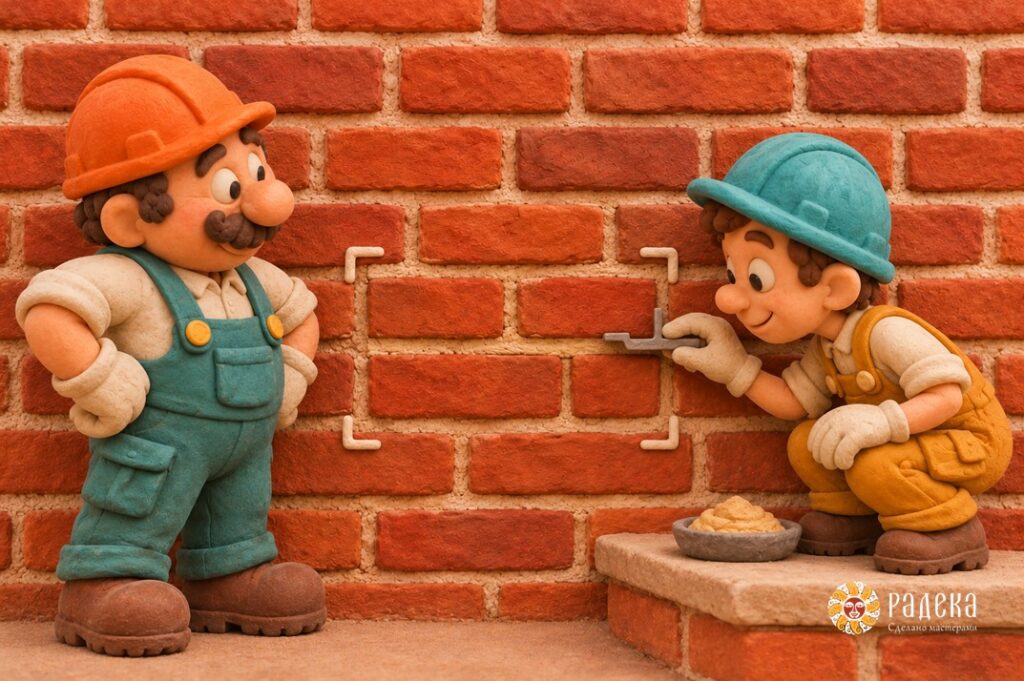
Remove loose mortar back to a sound base suitable for repointing, then clear out debris and dust. The depth of raking out depends on the condition of the masonry, the joint width and the chosen method. A thin strip of fresh mortar over crumbling material will not last. Running an angle grinder along every joint is not a universal solution either: the disc can cut into brick edges and leave grooves that cannot be repaired invisibly.
Prepare an absorbent base according to the requirements of the chosen mortar. Lime mortars usually need controlled pre-wetting so that dry bricks do not draw out water too quickly. Standing water in the joint is no help. What matters is the condition of the surface and the specified method, not simply whether someone has sprayed the wall.
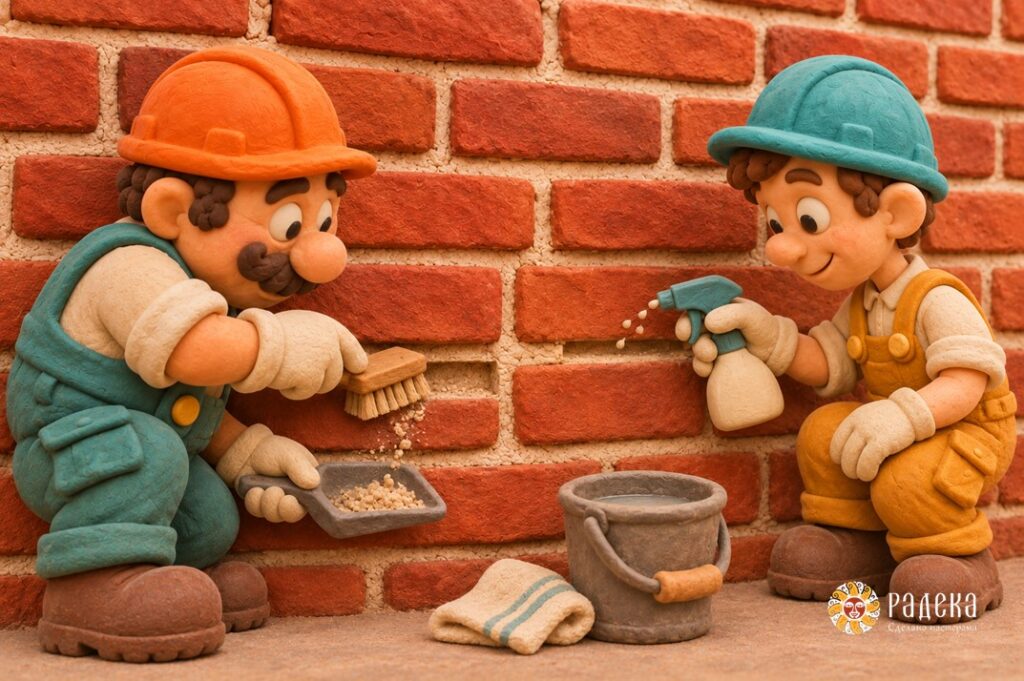
Compact the mortar into the prepared recess so that the joint is filled throughout its depth. Where the method calls for several layers, follow the specified layer thicknesses and waiting times. Form the agreed profile and remove any smears from the brick or stone at the appropriate stage. The Russian standard for the conservation of historic masonry specifically requires mortar to be placed in joints that have been raked out, cleared of dust and salts, and pre-wetted. The historic style of pointing is also to be retained.
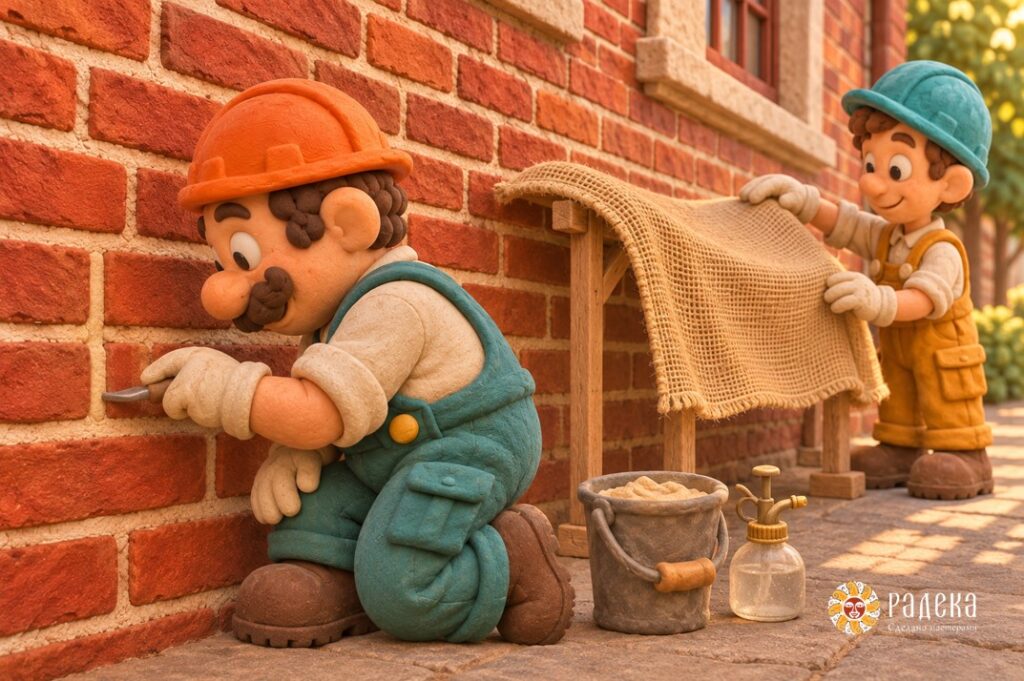
Curing is often the part left out of an appealing promise to “finish in a few days”. Protect fresh mortar from rain, frost, strong sun and wind that could dry it too quickly. The method and duration of protection depend on the mix and the weather. A joint that feels dry has not necessarily developed the required properties, and that alone is no reason to take the scaffolding down immediately.
If stone details are to be cleaned as part of the work, agree the sequence and methods in advance. A powerful jet or an unsuitable cleaning product can damage both the stone and the fresh repair.
If the brick itself has deteriorated or part of a stone detail has broken away, a different repair is needed: rebuilding the missing area with a suitable repair material or replacing the unit. A mortar intended for pointing is not necessarily suitable for reconstructing a cornice profile. Where the damage is extensive, endlessly adding to a patch may make little sense.
Voids within the wall, separation between layers of masonry and the installation of ties are separate issues too. They require investigation and a justified structural repair scheme. A high-strength anchoring material used to secure a tie does not become suitable for pointing simply because both jobs are part of repairing a building.
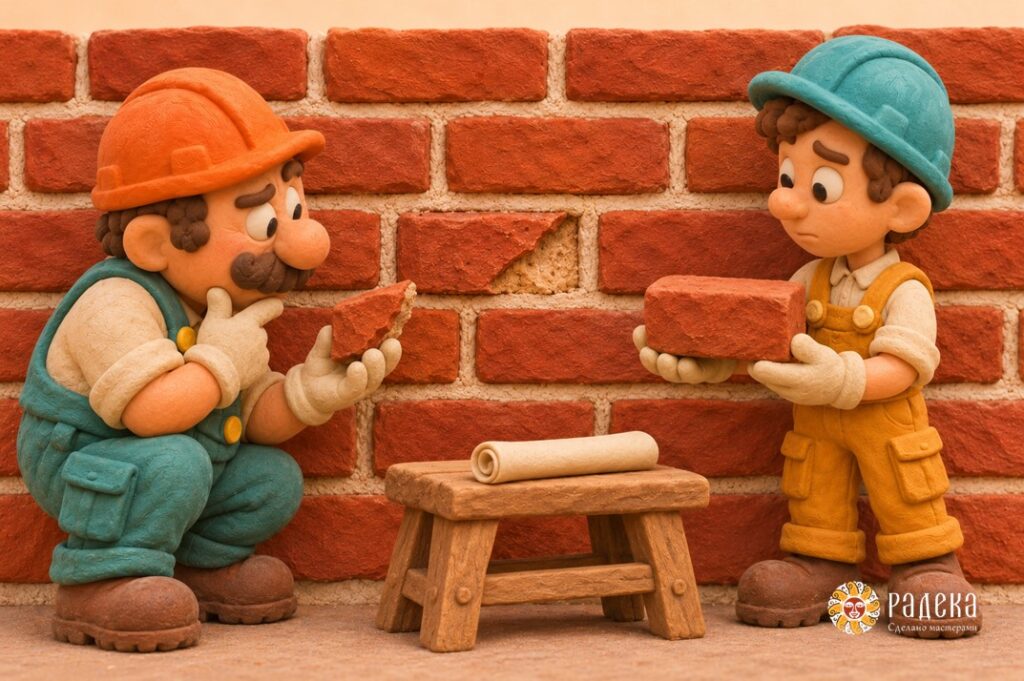
“Repair deteriorated joints” is not enough detail for an estimate. Before work starts, ask a few specific questions.
At handover, compare the work with the dried trial area. Check the brick edges, the joint profile, any gaps along the edges and any staining or mortar left on the faces. Photographs of the preparation and records of the mix and working conditions help explain what lies behind the tidy finish.
An old wall may retain signs of wear, slight irregularities and variations in colour. None of these, on its own, means the repair is poor. Preserving the material that made the work worthwhile is far more important. The new mortar should not become the most durable thing in a wall of crumbling bricks.
RADEKA | Made by masters