Modern Farmhouse Style in Interiors and Architecture
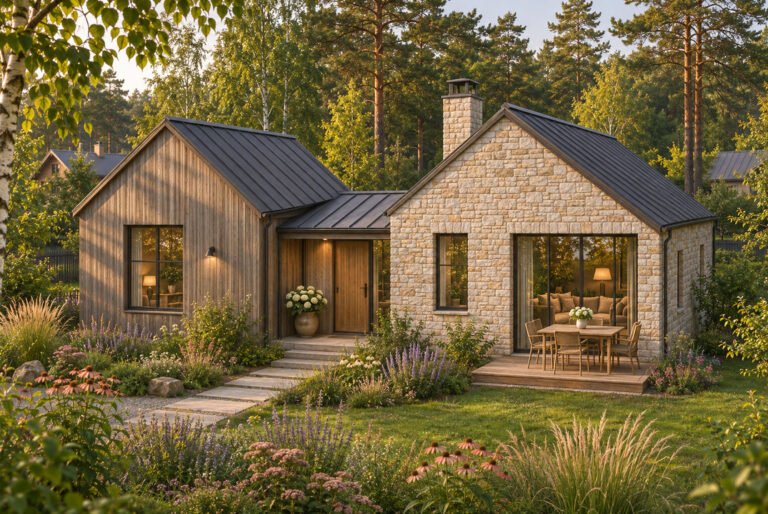
A gabled roof, wood and a large table by the window: a familiar picture of modern farmhouse style. We look at what makes the home behind…
Read MoreBrushing brings out the texture of natural stone and smooths sharp projections. We explain how abrasive brushes work, why the same treatment produces different textures, and what to check on a sample before placing an order.
Reading time: 9 minutes.
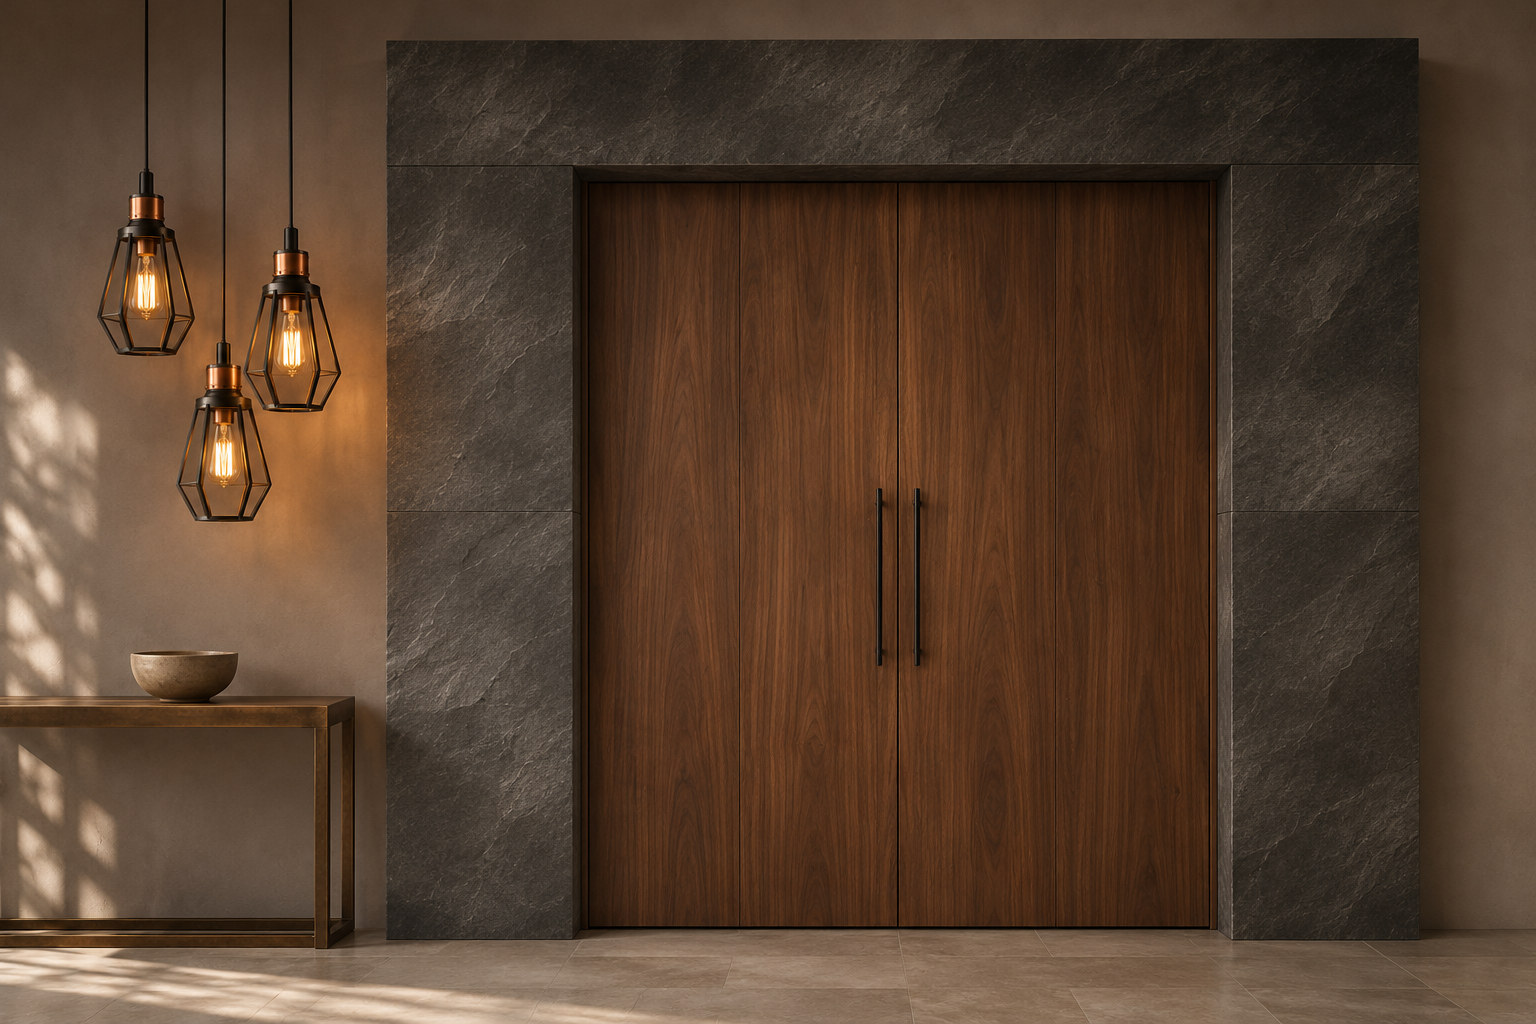
A photograph does not always reveal the difference between a brushed slab and an ordinary matt one. It is easier to feel with your hand: small hollows, softened ridges and changes in the surface become apparent beneath your fingers. Light from the side makes this texture more visible — the surface no longer looks flat.
Special brushes create this effect. They gradually remove material, changing the texture of the exposed face while preserving the stone’s natural pattern.
Stone brushing is a mechanical surface treatment using abrasive brushes. Hard particles, such as silicon carbide or industrial diamond, are embedded in their flexible polymer filaments. These particles wear away the stone on contact, while the flexibility of the bristles allows the tool to work across an uneven surface.
If different areas of the stone have different resistance to abrasion, material is removed unevenly. Some areas become deeper, while others remain higher. This reveals a texture shaped by the structure of the stone. The explanation that a brush “cleans out the soft layers” therefore does not fit every material: the stone may have no distinct layers at all.
Brushing can also serve another purpose: smoothing the sharp projections on an already rough surface. In this case, the brush mainly refines the texture created at an earlier stage. This is why two samples both labelled “brushed” can feel noticeably different.
When planning natural stone installation, choose the finish alongside the stone itself. A name alone is not enough: you need to see how the particular material intended for your floor, wall or worktop has been treated.
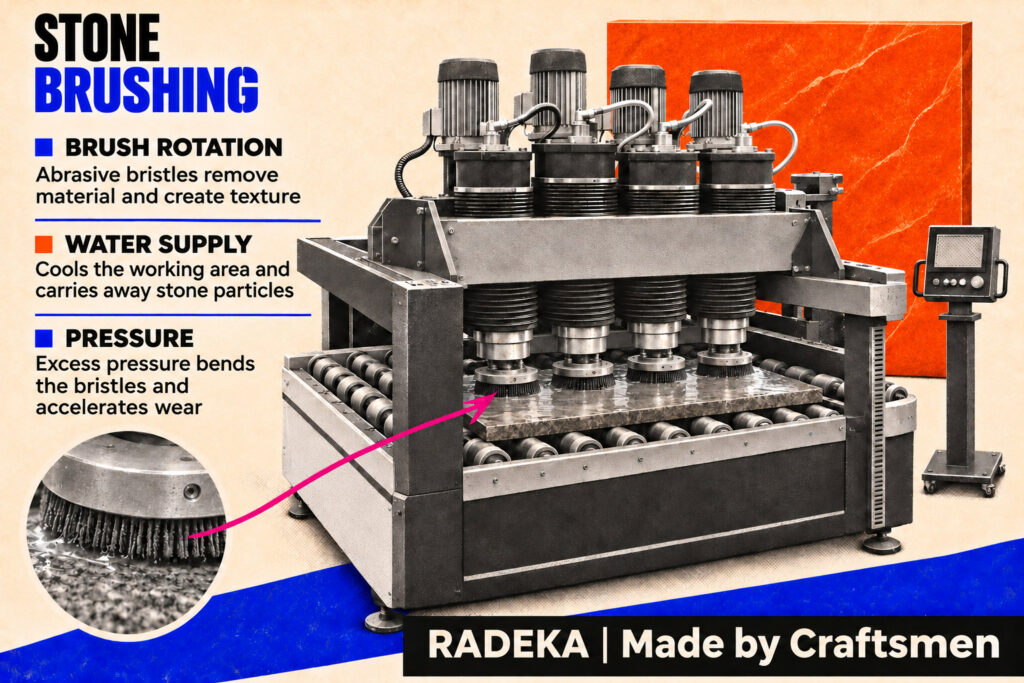
If the aim is a shallow texture without a coarse, rough feel, work begins with a prepared surface. Saw marks, deep scratches and unevenness that should not remain in the finished piece are removed before finishing. A brush does not replace the work needed to level a slab: it may soften a scratch without removing it completely.
Coarser brushes then develop the texture, and subsequent passes refine the surface until it has the desired feel and sheen. This can produce a gently undulating surface often described in catalogues as a leather finish. The term refers to the visual and tactile effect, which varies from one manufacturer to another.
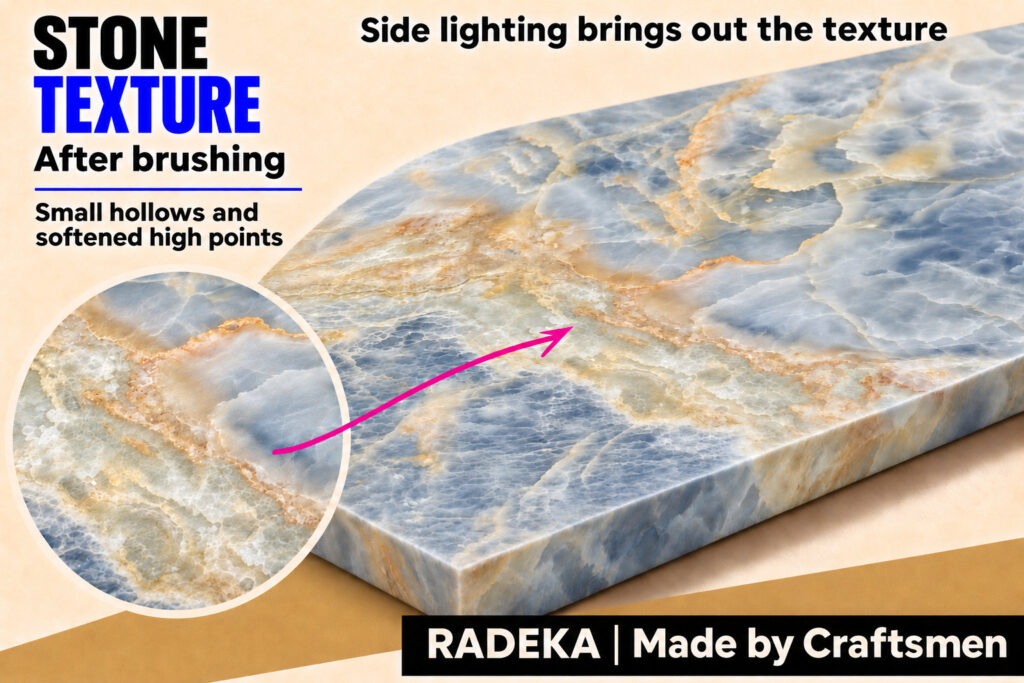
Flamed granite already has a distinctly rough surface. Brushes smooth the sharp peaks of this texture. The surface retains its unevenness but feels different from stone that has just been flamed.
A similar principle applies after bush hammering — treatment with a toothed tool that leaves small indentations. Brushes soften the resulting texture. The preceding operation is chosen to suit the stone: flaming is unsuitable for many stone types and is not an essential part of brushing.
Descriptions such as “flamed and brushed” are more useful than the vague term “antique”: they at least tell you which processes the material has undergone. Even here, though, the sample gives the final answer, rather than the name in a price list.
First, the blank is assessed for its surface condition, cracks, cavities and filled areas. If resin or filler is already present, its response to brushing needs to be checked. The aim is to reproduce the texture chosen from the sample across the entire exposed face.
A trial is carried out on the same material that will be used for the finished piece. It reveals how quickly the texture develops, which marks the tool leaves, and how many finishing stages are actually needed. This is especially important for stone with contrasting veins or an uneven structure.

Large slabs are processed on machines with rotating heads. Depending on the equipment, these use brushes with Frankfurt or Fickert fittings, or circular brush attachments. Edges, profiles and small details may need different tools and finishing by hand. The fitting name tells you whether the brush is compatible with the machine; it does not describe the finished texture.
Diamond brushes are often chosen for intensive treatment of hard stone. Silicon carbide brushes are also used in a range of processing sequences, including the finishing stages. A strict rule of “diamond for granite, silicon carbide for marble” would be misleading: the choice depends on the particular tool range, the stone and the starting surface.
The slab needs to be worked evenly. The head’s path, its travel speed and the time the brush spends in contact with each area all affect the result. Dwelling in one place or treating adjacent strips unevenly can create differences in texture and sheen.
The work usually involves several passes, progressing from creating the texture to refining it. Finer abrasives remove coarse marks from the preceding stage and change how the surface feels. Brushed stone therefore does not necessarily remain completely matt: a particular sequence of tools can produce a noticeable sheen while retaining the texture.
Several machine settings are adjusted together:
For example, Fredimar explicitly specifies wet use and light pressure for its flexible brushes. This is a good illustration of why settings should come from the documentation for the particular tool, rather than a universal instruction to “turn up the speed”.
Between stages, the surface is cleaned of slurry — a mixture of water and fine particles of removed material. This makes remaining scratches easier to see and avoids carrying coarse particles into the next pass. The work ends with rinsing and inspection of the dry stone: a wet surface looks darker and may conceal some differences in the finish.
On marble, brushing can emphasise transitions between areas and create a gently undulating surface. A vein will not necessarily stand proud of the background, though: its response depends on its composition and strength. The effect on uniform marble may be much subtler than on a variegated stone with differing inclusions.
Travertine’s natural cavities add to its pattern. Brushing does not fill them. Open cavities and filled areas will differ both in appearance and in how they clean, so filling needs to be discussed when choosing the texture, rather than after the tiles have been made.
On granite, the result depends on the mineral composition and the preceding treatment. Brushing a prepared surface and brushing after flaming produce different finishes. A dark colour alone does not guarantee a leather effect: the stone’s structure and the chosen tool both matter.
For limestone and sandstone, particular care is needed to check how firmly the material’s particles are bound together. If a sample starts to crumble noticeably or shed grains, this should not be accepted as an inevitable part of an aged finish. Different settings, a different treatment or a different stone are needed for the intended use.
In natural stone tumbling, the pieces move inside a processing vessel, repeatedly contacting one another and, where the process calls for it, the media. This softens the edges and changes the surface. During brushing, the brush works on a selected face of the piece. It does not automatically turn a straight sawn edge into a rounded one: the edge treatment and profile are specified separately.
Grinding and honing level the stone and reduce roughness. Polishing makes the surface smooth and increases its gloss. Brushing is chosen for its texture, although the sheen can also be varied. “Matt” and “brushed” are therefore not interchangeable descriptions.
These operations can form part of the same processing sequence. Tumbled tiles, for example, may also be brushed. In the finished piece, the rounded edge and the textured face are the results of different stages.
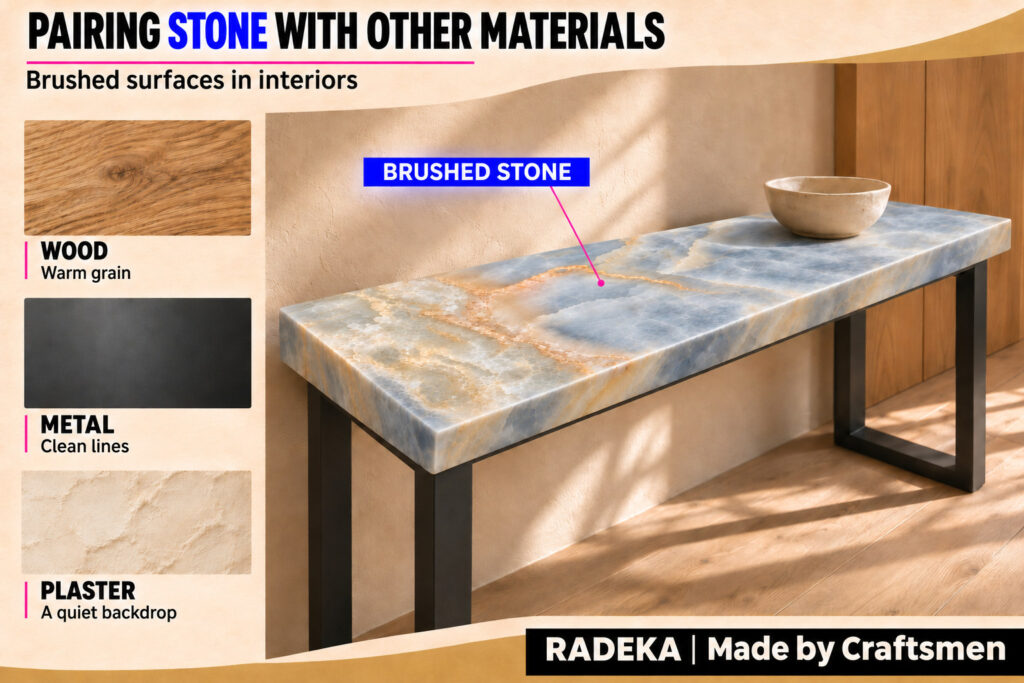
On a wall or fireplace surround, a brushed texture shows up well under side lighting: small ridges and hollows cast shadows that almost disappear under even frontal light. It is worth viewing the sample where the stone will be installed, rather than only under bright showroom lights.
Before ordering a worktop, check how easily the chosen texture can be wiped clean, how the areas around cut-outs look, and whether the finish on the top works well with the edge treatment.
Floors, steps and wet areas need a slip-resistance assessment for the particular surface chosen. The word “brushed” is no substitute for test results. Outdoors, the properties of the stone itself and its service conditions also need to be considered: brushing does not automatically make stone frost-resistant or impervious to water.

Use a reasonably large sample showing the characteristic pattern, or several slabs if there is considerable variation. They should show more than just the most attractive areas: veins, cavities and filled sections need to be represented if they occur in the chosen material.
Look at the dry surface straight on and at an angle. Run your palm across the texture. Check for unintended tool marks, isolated sharp projections and areas with a noticeably different sheen. If the finished piece will have an exposed edge, the sample should show that too.
An impregnating sealer, where needed, is also best assessed beforehand: some products change the colour. Care should be chosen to suit the stone type, rather than the finish name alone. Marble, limestone and travertine remain sensitive to acids after brushing; neutral cleaners and careful removal of dirt and spills remain the basis of natural stone care.
A good sample makes it possible to agree on specific details: the depth of the texture, how smooth it feels, its sheen, the appearance of the veins and the edge treatment. The word “brushing” then describes a surface you can picture — one you have already seen and held in your hands.
RADEKA | Made by Craftsmen